Scale & Reference
Adjusting the scale and reference position controls how zoomed-in your trace appears and where the reference line sits on screen. This lets you focus on the range of values that matters for your measurement.
Adjust the scale
Section titled “Adjust the scale”- Activate the trace you want to adjust.
- Tap .
- Enter the desired scale value (units per division).
- Tap Ok to confirm.
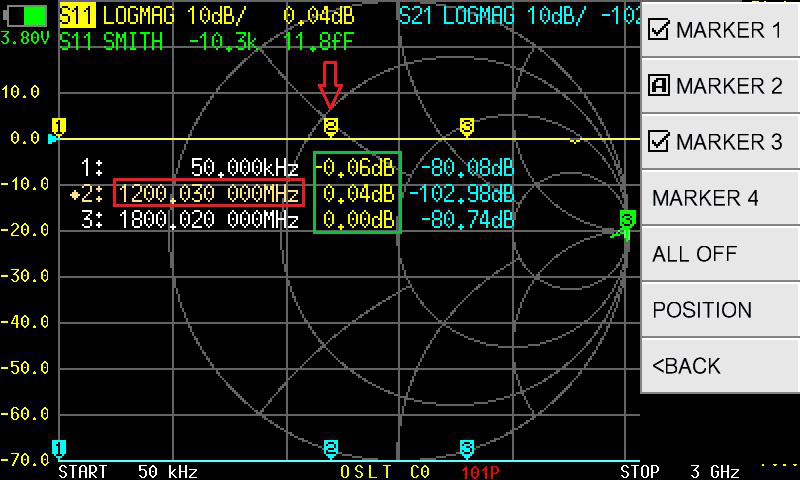
The scale value sets the vertical range per grid division. For example, in LOGMAG format a scale of 10 dB/div gives you 10 dB per horizontal grid line, while 5 dB/div zooms in for more detail.
Set the reference position
Section titled “Set the reference position”The reference position (REF POS) determines which grid line represents the reference value (typically 0 dB for LOGMAG, or 1.0 for SWR).
- Activate the trace you want to adjust.
- Tap .
- Select REF POS.
- Enter the grid line number (0 = bottom, 9 = top).
- Tap Ok to confirm.
The default REF POS is 7 (the 7th line from the bottom), which places the reference value near the top of the screen. This works well for return loss measurements where most values are negative.
Common scale configurations
Section titled “Common scale configurations”| Measurement | Suggested scale | Suggested REF POS |
|---|---|---|
| Return loss (S11 LOGMAG) | 10 dB/div | 7 (reference at top) |
| Fine return loss detail | 5 dB/div | 7 |
| Insertion loss (S21 LOGMAG) | 10 dB/div | 7 |
| Bandpass filter detail | 1 dB/div | 5 (reference at center) |
| SWR overview | 1 SWR/div | 0 (reference at bottom) |