Using Markers
Markers let you read exact measurement values at specific frequencies. The NanoVNA-F V3 supports four markers (1 through 4), each displayed as a numbered indicator on the active trace.
Activate a marker
Section titled “Activate a marker”- Tap where n is 1, 2, 3, or 4.
- The marker appears on the trace at a default position.
Tap the marker number in the marker table at the top of the screen to activate and select that marker.
Tap a frequency value in the marker information table to quickly select that marker for editing.
Move a marker
Section titled “Move a marker”After selecting a marker, tap anywhere on the trace area to jump the marker to that frequency.
Use the marker position controls under :
- MOVE UP — shift the marker toward higher frequencies
- CENTER — move the marker to the center frequency
- MOVE DOWN — shift the marker toward lower frequencies
- Select the marker.
- Tap .
- Enter the desired frequency on the keypad.
- Tap Ok to confirm.
Read marker values
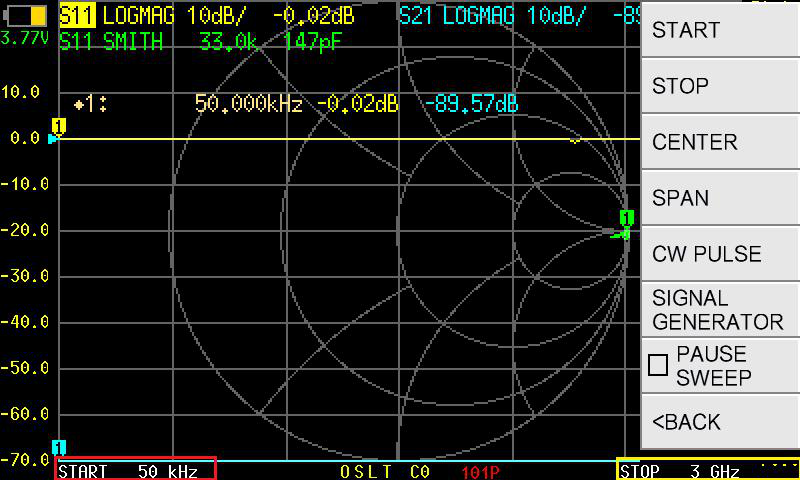
Section titled “Read marker values”The marker table at the top of the screen shows each active marker’s frequency and measured value. The value displayed depends on the format of the active trace (dB for LOGMAG, ohms for RESISTANCE, etc.).
Rearrange the marker table
Section titled “Rearrange the marker table”If the marker table overlaps important parts of the trace:
- Tap and hold on the measured value area of the marker table for about 0.5 seconds.
- Drag the table to a new position on screen.
Turn off markers
Section titled “Turn off markers”- To turn off a single marker: select it, then tap again to toggle it off.
- To turn off all markers at once: tap .