USB Connection
The NanoVNA-F V3 connects to a PC over USB Type-C, appearing as a virtual COM port. The recommended PC software is NanoVNA-Saver, which provides a full graphical interface for remote control, data logging, and screenshot capture.
Download NanoVNA-Saver
Section titled “Download NanoVNA-Saver”| Platform | Source |
|---|---|
| Windows (SYSJOINT build) | Nanovna-Saver-0.3.12-by-SYSJOINT.exe |
| Windows / Linux / macOS (community) | NanoVNA-Saver GitHub Releases |
Driver Requirements
Section titled “Driver Requirements”| Operating System | Driver Needed |
|---|---|
| Windows 10 / 11 | No driver required — plug and play |
| Windows 8 and earlier | Install the STM32 Virtual COM Port driver from ST STSW-STM32102 |
| Linux | No driver required — the cdc_acm kernel module handles it automatically |
| macOS | No driver required on modern macOS versions |
Connecting to NanoVNA-Saver
Section titled “Connecting to NanoVNA-Saver”-
Power on the NanoVNA-F V3 and connect it to your PC with a USB Type-C cable.
-
Launch NanoVNA-Saver. On Windows, double-click
nanovna-saver.exe. On Linux/macOS, run the application from the extracted release or installed package. -
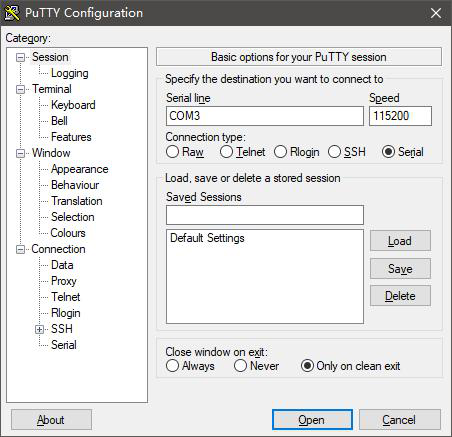
Select the COM port. The NanoVNA-F V3 appears as a serial device. On Windows this is typically
COM3or similar; on Linux it appears as/dev/ttyACM0. -
Click “Connect to Device.” NanoVNA-Saver reads the device information and begins displaying live sweep data.
Once connected, NanoVNA-Saver provides:
- Live S11 and S21 traces with multiple display formats
- Marker placement and readout
- Sweep frequency range control
- Calibration management
- Data export (Touchstone S1P/S2P, CSV, screenshots)
Taking Screenshots via PC Software
Section titled “Taking Screenshots via PC Software”NanoVNA-Saver can capture the NanoVNA-F V3’s screen display as an image.
-
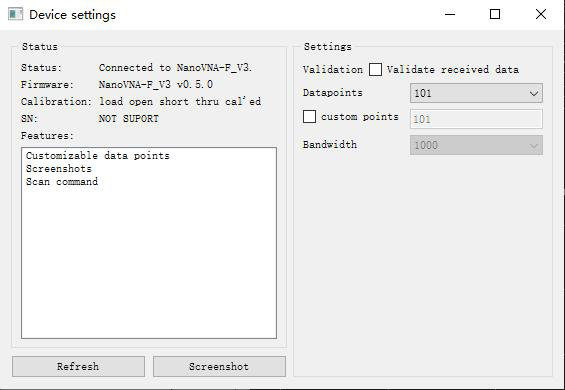
With the device connected, click Manage to open the Device Settings dialog.
-
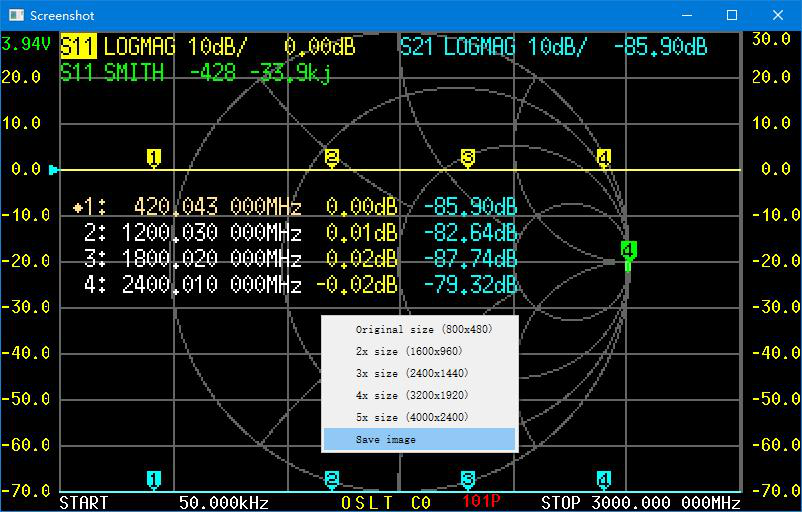
Click the Screenshot button. The capture takes approximately 5 seconds as pixel data transfers over USB.
-
Once the screenshot appears, right-click the image area and select Save Image to export it as a PNG file.
Troubleshooting
Section titled “Troubleshooting”Device not detected:
- Try a different USB cable — some cables are charge-only and lack data lines
- On Windows 8 or earlier, install the STM32 Virtual COM Port driver
- Disconnect and reconnect the USB cable
- Restart the NanoVNA-F V3
COM port appears but connection fails:
- Close any other program that may be using the same COM port (serial terminals, other VNA software)
- Only one application can use the serial port at a time
Connection drops intermittently:
- Use a shorter, higher-quality USB cable
- Avoid USB hubs — connect directly to a port on the PC
- Check that the USB Type-C connector is fully seated